

Mastering the Art of Bridal Detail Flat Lays in 7 Minutes
Welcome, Flat Lay Styling Enthusiasts! Today, we're diving into the art of creating a stunning bridal detail flatlay using the brand-new Sanibel Hand Painted Styling Mat.
This Step by Step Flat Lay Guide will take you through the process, ensuring Flawless Wedding Day Details.
It is my honor to share my years of knowledge, to help you craft visually captivating Wedding Day Flat Lays. Everything Featured in this Flat Lay is linked below.
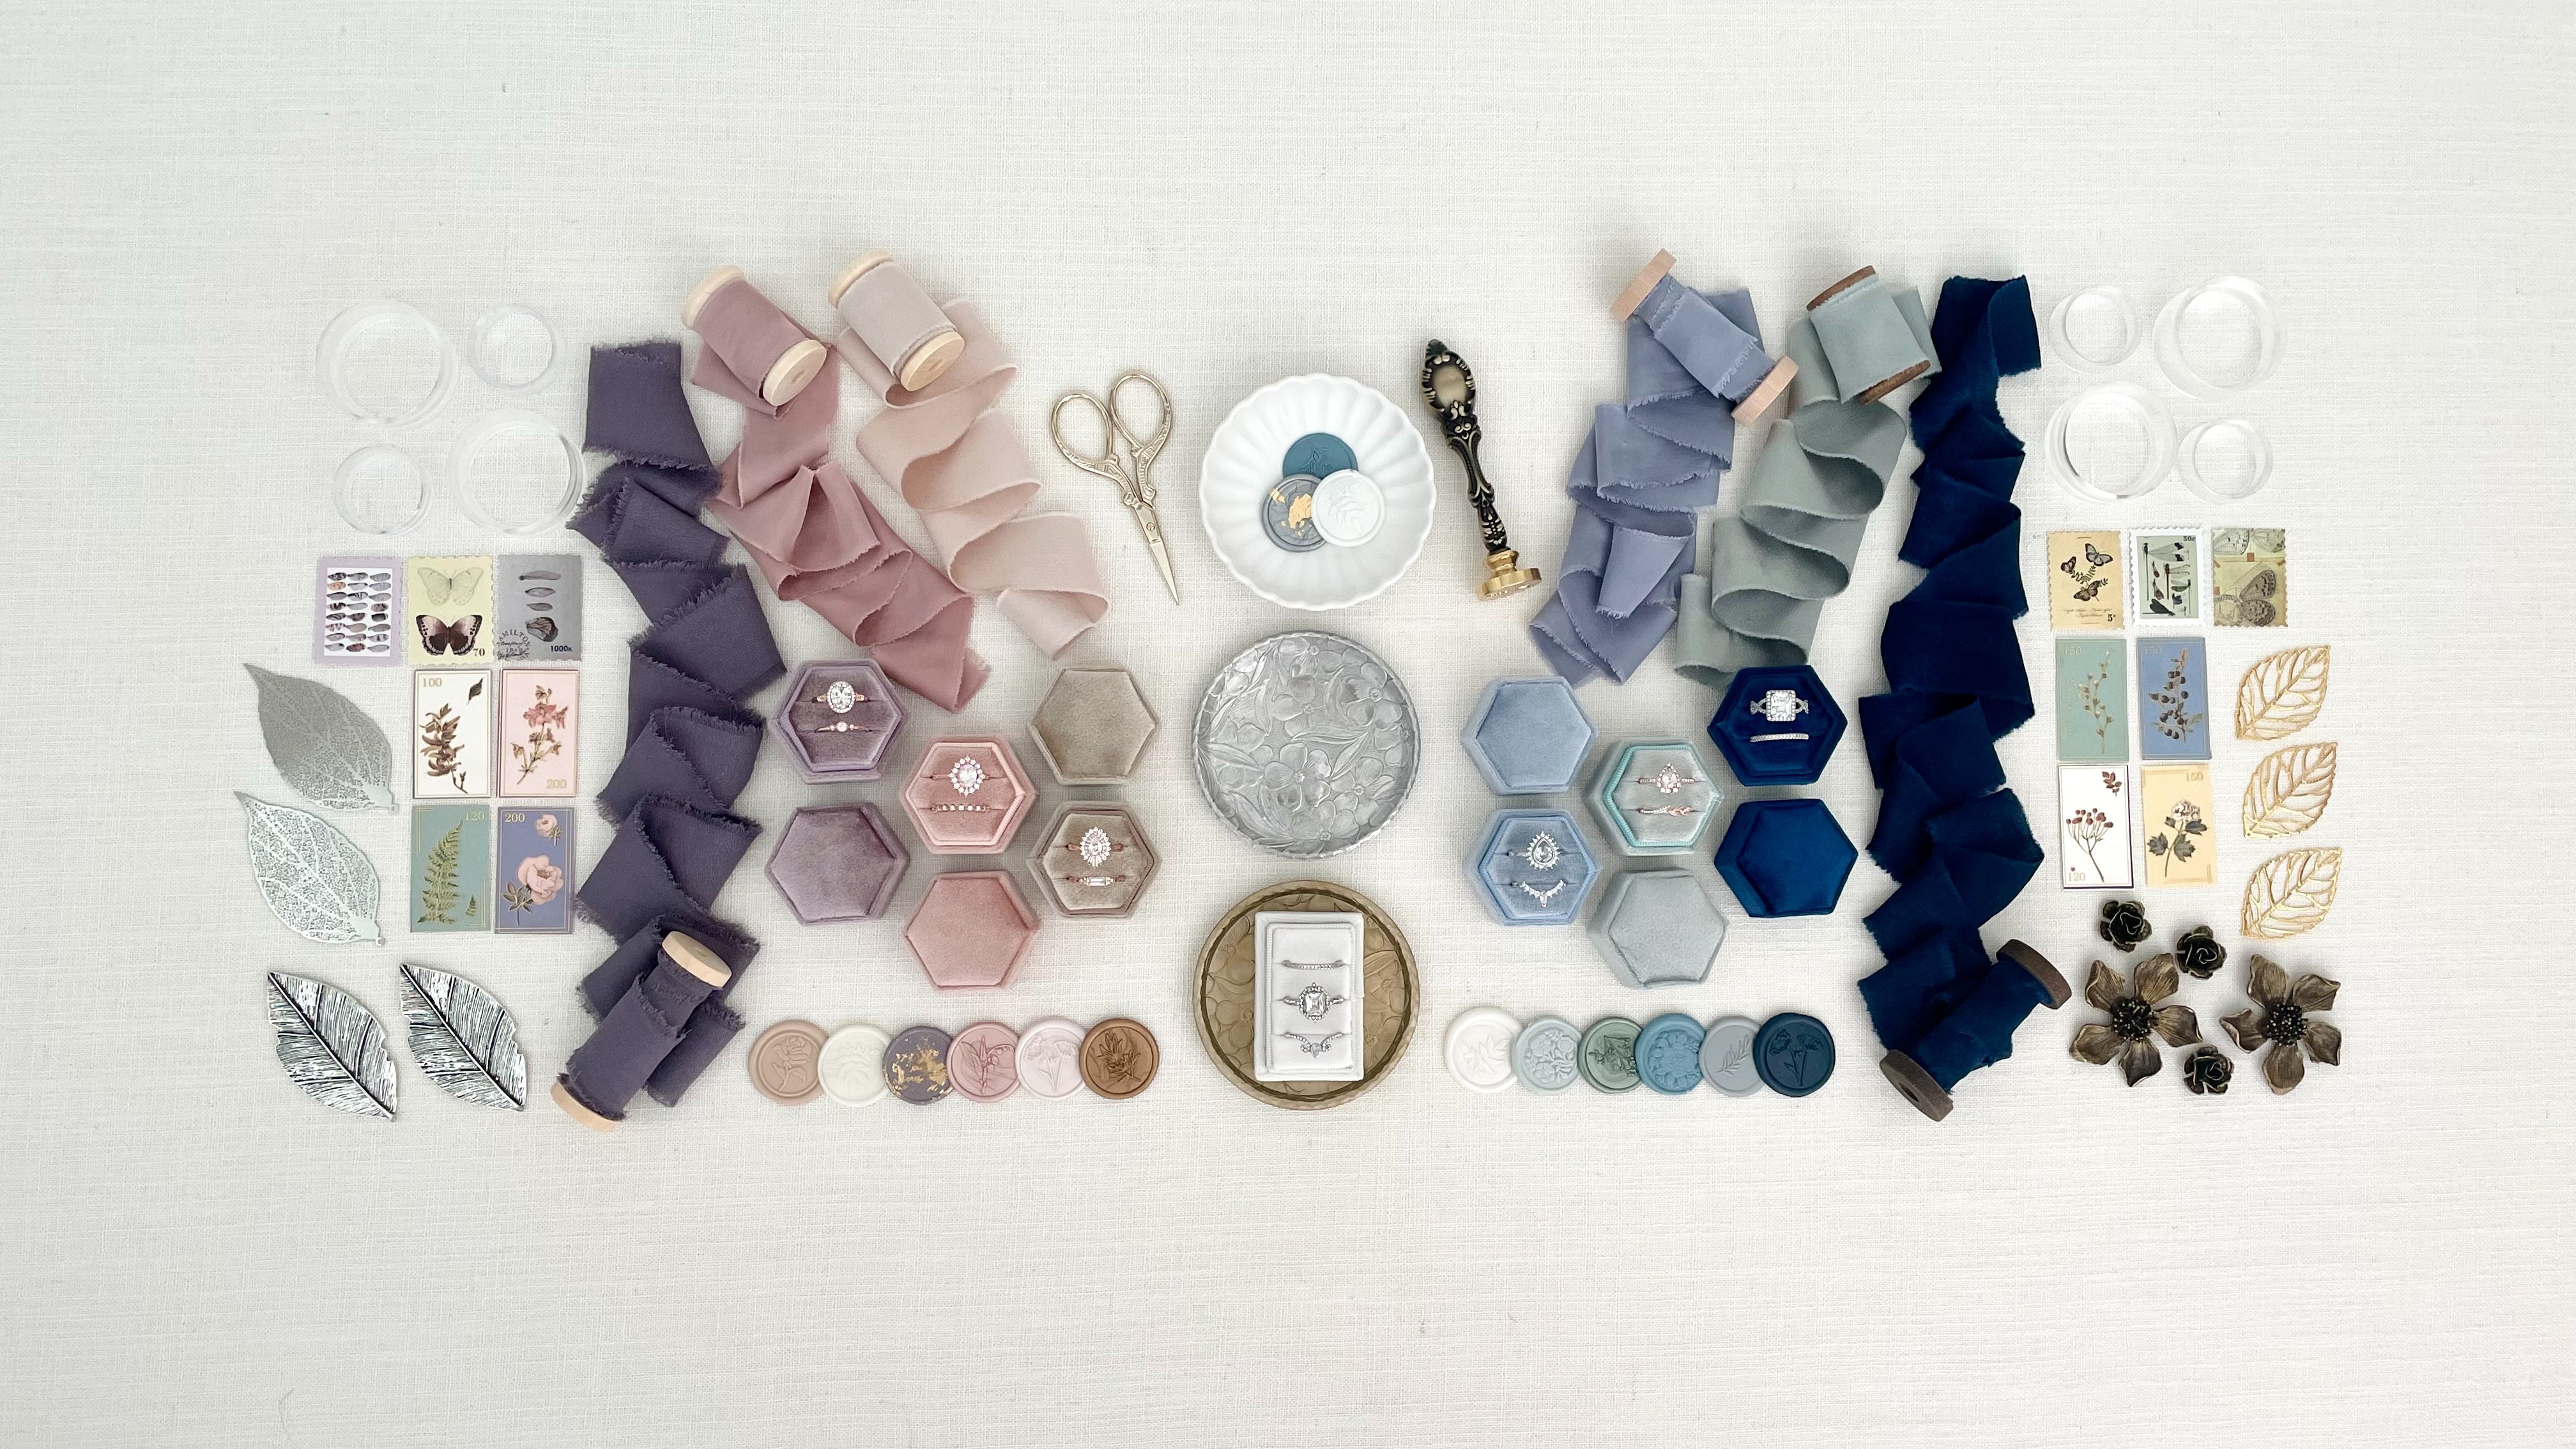
Styling Props Featured:
https://champagneandgrit.com/products/7-minute-bridal-details-featuring-sanibel-flat-lay-mat
Let's Dive in
Step 1: Setting the Scene with Shoes; why shoes need their own moment to shine...
One of the biggest ‘mistakes’ or ‘flat lay NO NOs’ I see is Styling the Bride's shoes with the invitation Suite.. When Styling Details, it’s essential to let each element shine.
Think about it this way … when a bride is getting married, what is she wearing? Shoes, ring, veil, etc.. She is NOT wearing the invitation, so the invitation should NOT be styled with these details.
It is also much easier to create beautiful, cohesive flat lays if each wedding moment has its own flat lay. I can hear you say ‘but I don't have time, I can barely get 1 flat lay done’. Trust me, you CAN style 3 flat lays in 35 to 45 minutes if you are prepared with the right props and practice. You can watch a 3 part series I did showing exactly how to do so. By allowing each detail, Groom, Bride, Invite, to have their own moment, it will not be as rushed or crowded, making it easier to style.
Placement:
- Begin by placing the bride’s shoes towards the top of the frame, slightly offset & on a slight diagonal. This placement creates visual interest. This initial positioning sets the stage for the rest of the flat lay.
- Placing at the top left corner of the frame will be the START of our DIAGONAL line.
- The shoes are placed slightly outside the frame. This will create balance in the placement of another styling prop later in our flat lay.
PRO TIP: If your Bride was rocking Chanel, or Jimmy Choo, I would NOT style the shoe outside the frame. The label would be cut off.. So for your designer shoes, you always want to style with the ENTIRE shoe in the frame, the Label is important.
Adjustment:
- As we add more elements, we may need to reposition the shoes slightly to maintain balance and harmony within the frame.
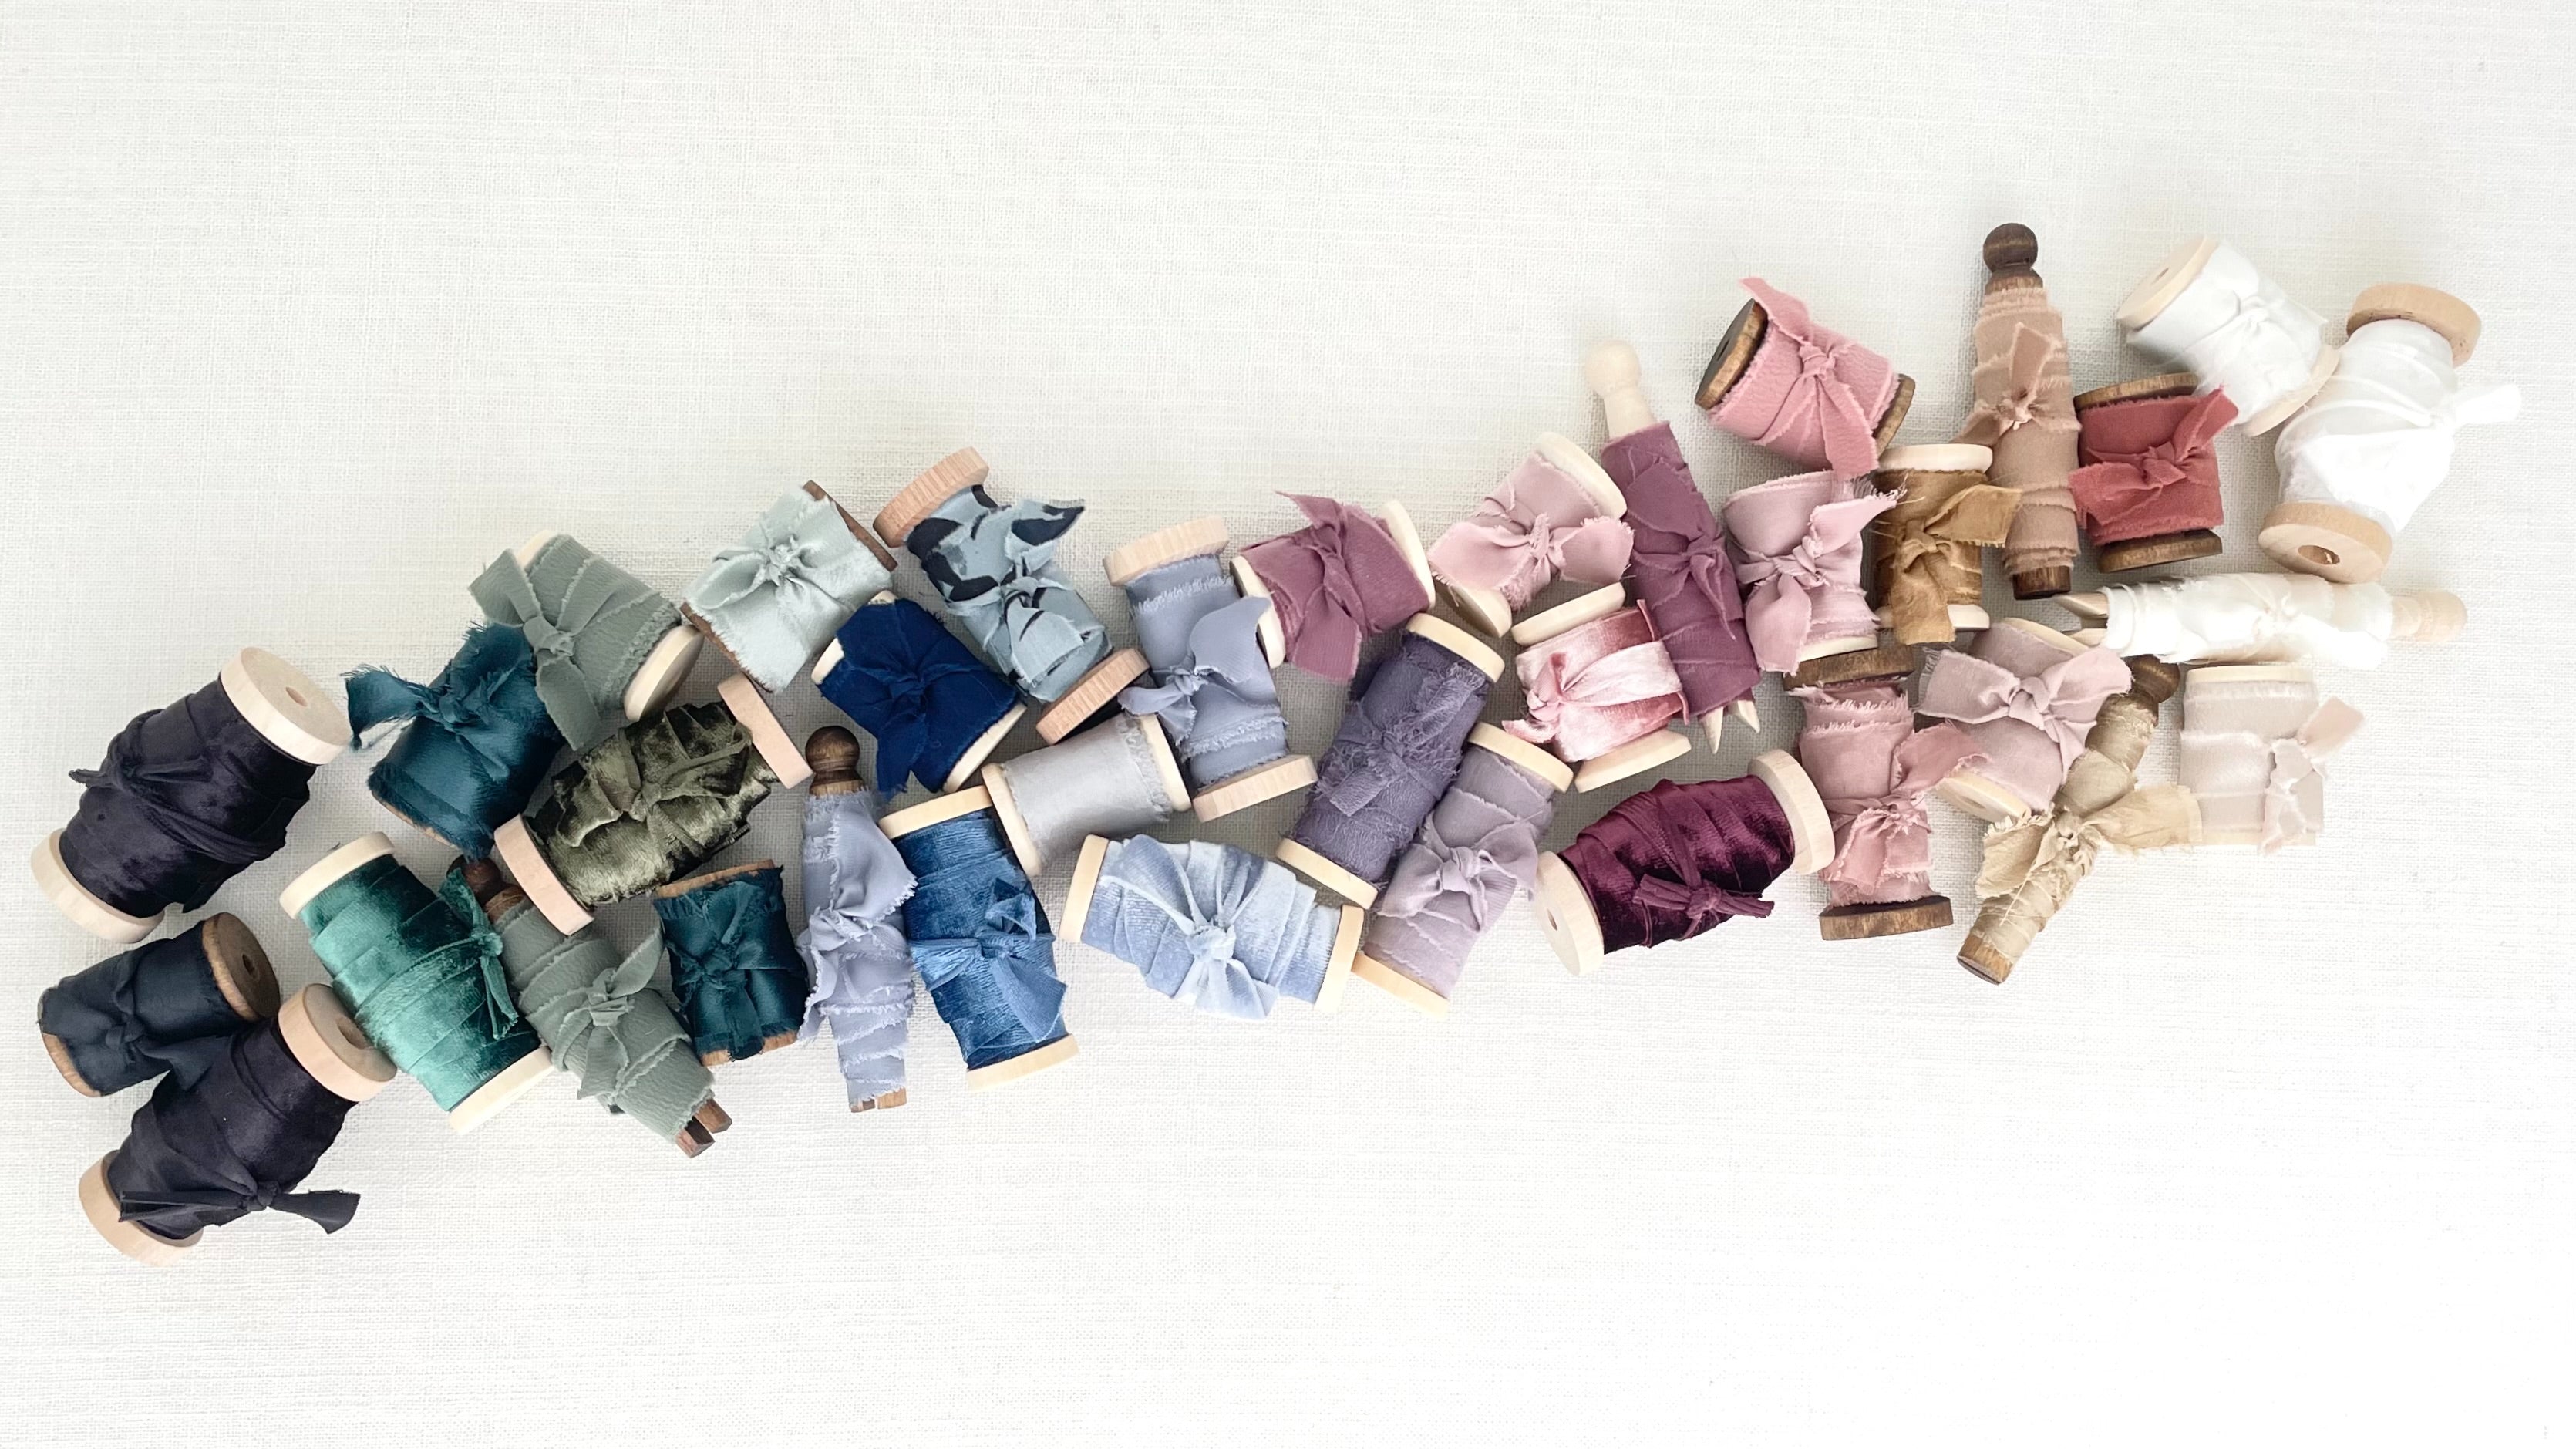
Step 2: The Secret to Styling Ribbon
What is my Secret to Styling Ribbon.. DO NOT TOUCH IT! Once you pull it off the spool, leave it alone. The initial unrolling of the ribbon is the Best it is going to Look, so resist the temptation to touch it, and leave it be.
Placement:
- With our lux Champagne Velvet ribbon we create the full diagonal line leading us through the frame.
- Start at the bottom left corner and roll upward to the top right corner
Color Selection:
- The color selection for this flat lay was a lux neutral. This Champagne Ribbon is one of my personal favorites to Style with because it goes with everything.
Step 3: Layering & Power of Negative
Layering creates visual interest, visual interest creates impactful imagery.
The Mini Ivory tray layered on top of ribbon, the ring box on top of the tray, perfectly nestled into the negative space between the two points of the tips of the shoes. These small details make the MAGIC.
Understanding the art & science behind this is what will transform your photos. The power of layering is not just for bridal details, it is for all flat lays.
Placement:
- Placement of the Tray: take the top tip of the tray & nestle into the negative space we have created between the two tips of the shoes. This is the point where you might need to slightly tweak your shoe placement to make this ‘perfect’.
- Make sure there is enough space for the tray to ‘breath’... this is the negative space, fight the urge to squish the tray in the space.
- Placement of your Ring Box: take your champagne triple slot ring box and make sure it is placed directly in the center of the tray, making sure your rings are centered within the ring box. They are the Star of the Show
- Take a second to look at the composition, the tray & ring box are placed in the CENTER of the frame of your photo… this is because they are the most important elements in the shot.
- As you look at your flat lay you will see the diagonal line running through the frame.. In a minute we will be adding the last large prop which creates the X & another diagonal line. (if you're like what is she talking about, this is the magic formula for flat lays, I teach it, I use it & every other BIG time photographer is using it as well)
PRO TIP: Shiny rings make for dreamy photos! Most couples are picking up their wedding bands a week or two prior to their weddings. Shoot your Bride a text or an email reminding her to have her engagement ring professionally cleaned when she picks up her wedding band. This way the ring is extra sparkly for your photos! Also, YOU should wipe off the ring prior to placing it in the ring box, even if it is with your t-shirt.. It will make a difference, I promise.
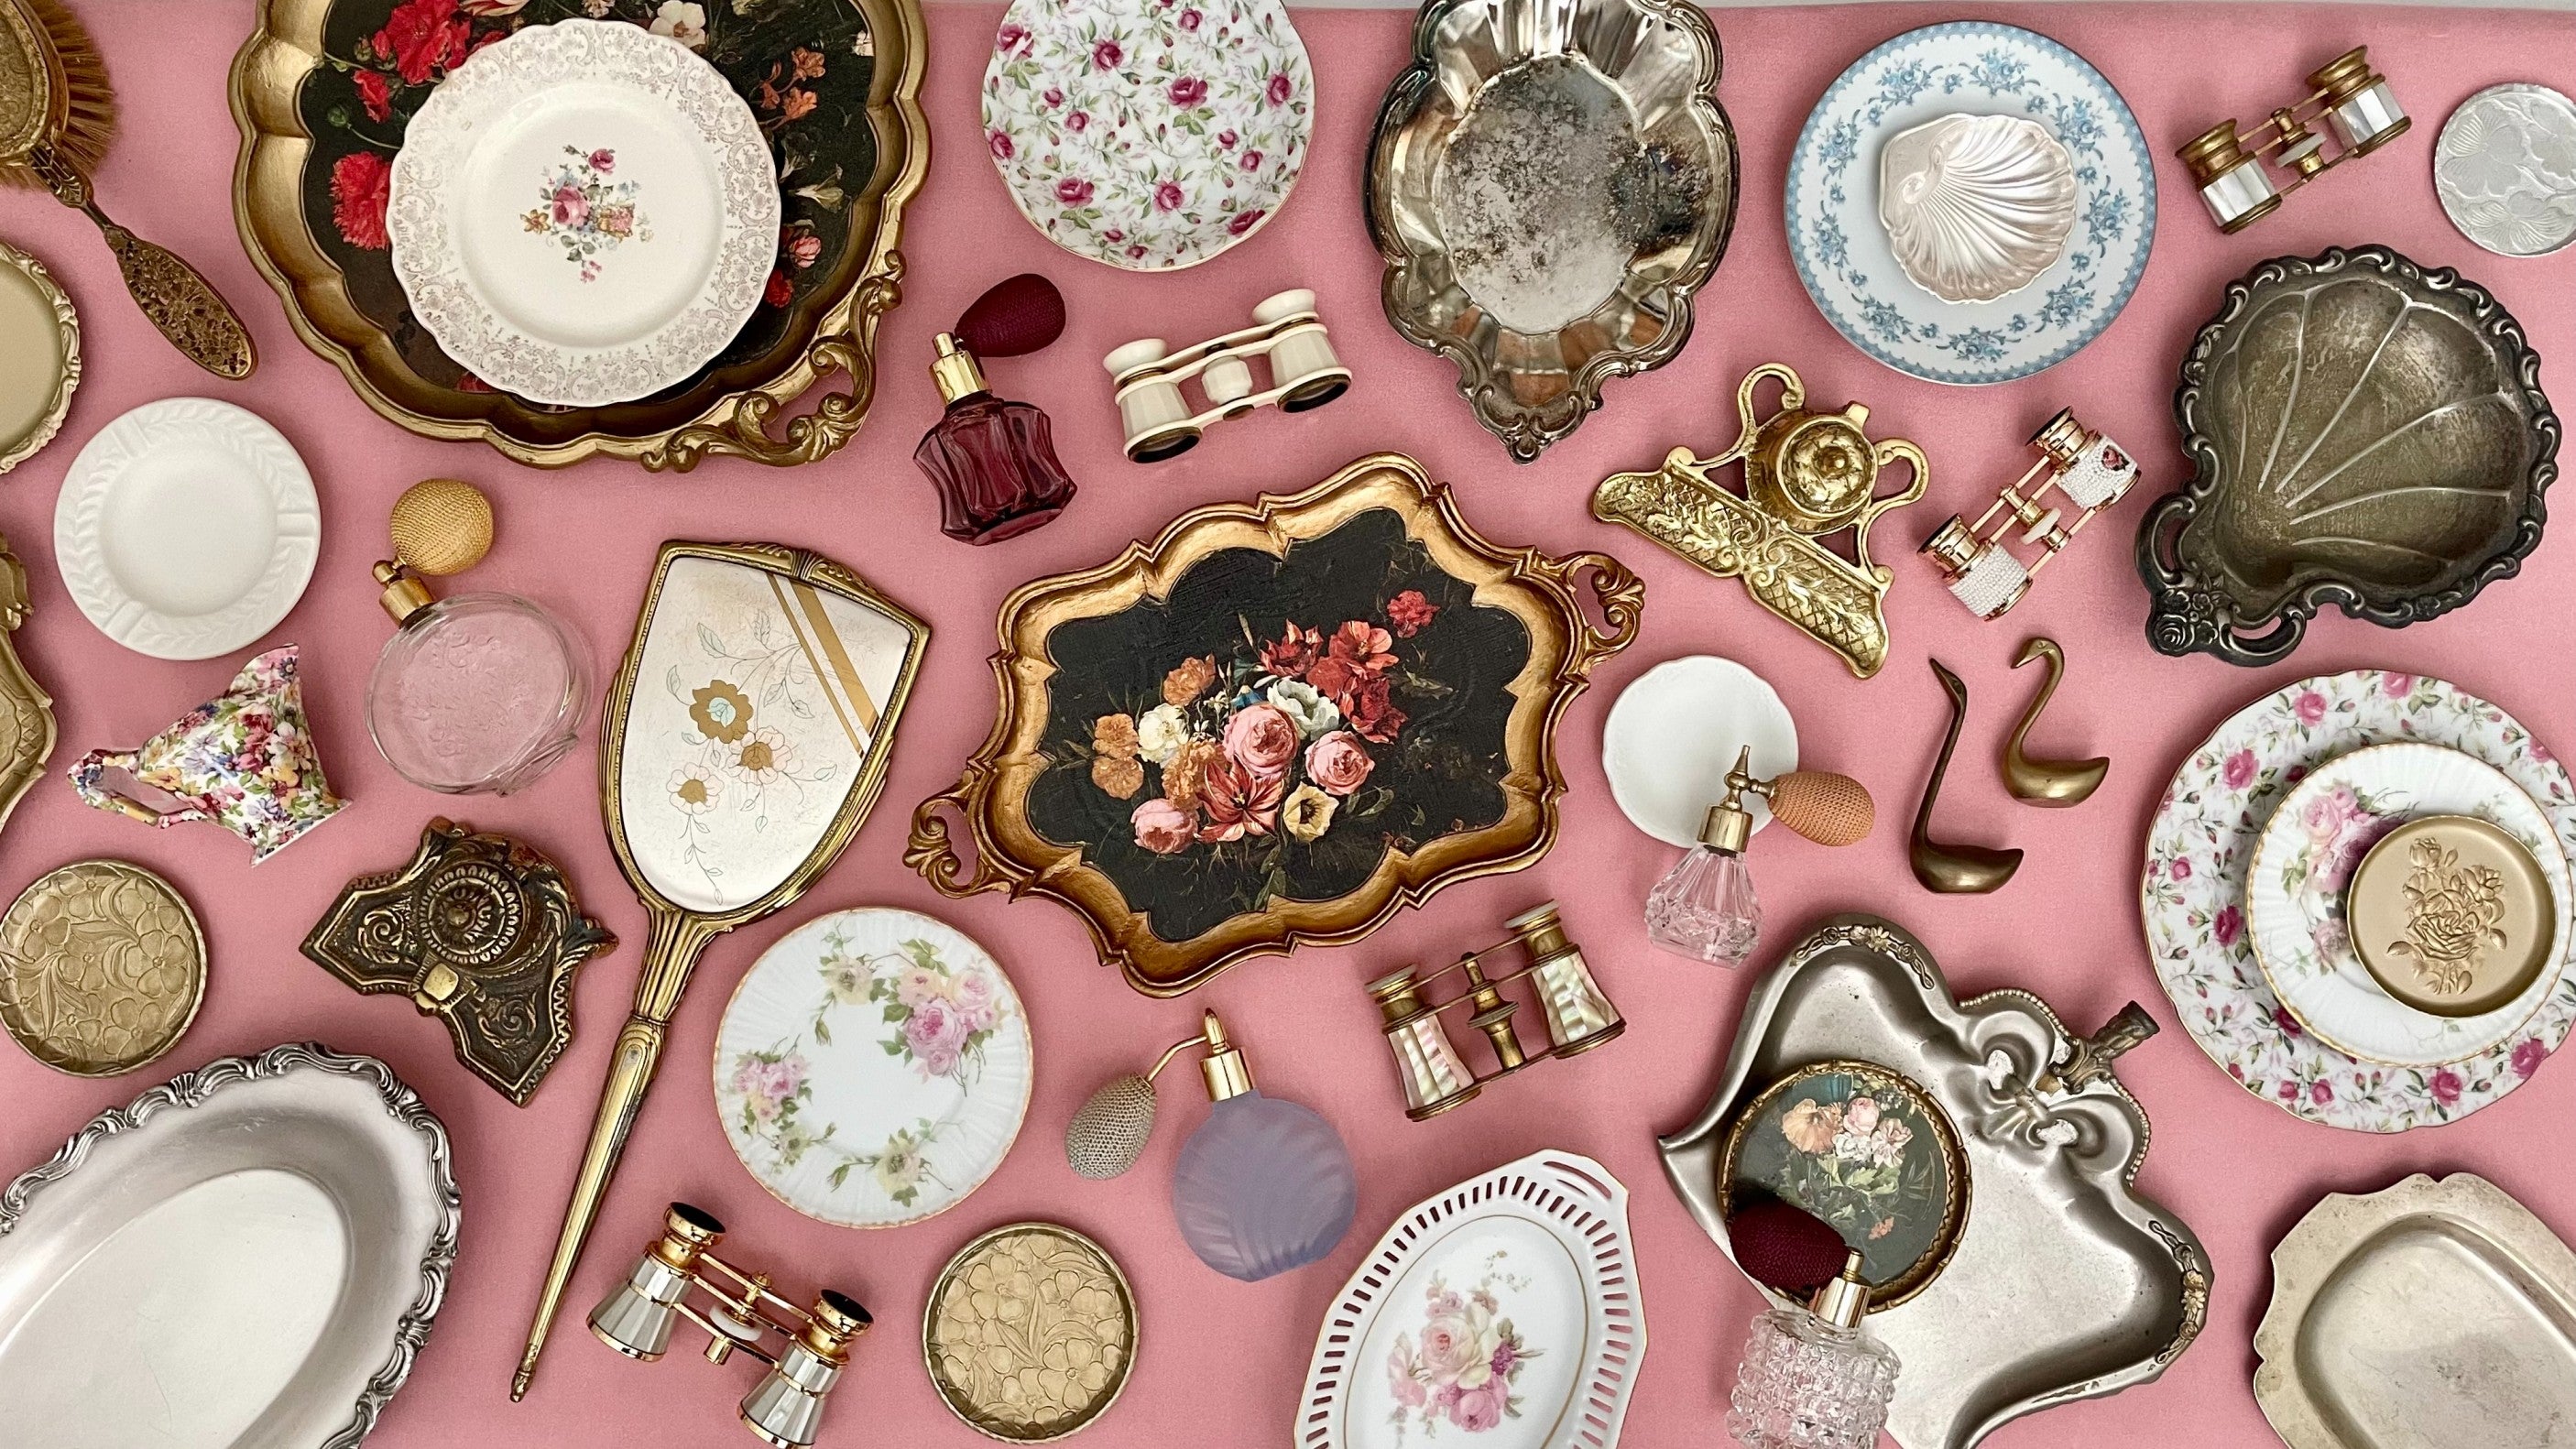
Step 4: The Power of Vintage
Vintage is my love language. It is a way to make your brand & photos stand out. Adding a Vintage hanger to your flat lay kit is an amazing offering to have for your bride, as well as to serve YOU in having beautiful photos. Let’s never take another wedding dress photo on a plastic hanger.
Placement:
- Place the hanger at the bottom of the frame. This is the last element in creating the opposite diagonal line. (looking at your frame top to bottom; it is the shoes, the tray & ring box & now the hanger, this is the opposite diagonal line)
- This also completes the X’s. In the center of the X is the ring box & ring, which is the most important element in your flat lay.. The Star of the Show.
Coming out of the Frame:
- Prop placement out of the frame is often a BIG NO. However in this case it is creating a dynamic image.
A few other reasons WHY this wedding prop can be outside of the frame:
- It is NOT a main element like the rings or ring box .. it is NOT the Star of the Show.
- It is large and the main element is small. By allowing the hanger to be out of the shot we are allowing the ring (the star of the show) to be the focus of the shot.
- It is creating balance with the shoes that are at the top of the frame that are also out of the frame of the shot.
By placing the hanger & the shoes slightly outside of the frame, it draws the viewer’s eye through the composition, creating visual interest & that elusive dynamic image.
Step 5: The Final Flourish
The petite details are what will take your flat lays to the next level.
Yes, you could stop styling this flat lay & take your photos at this point. However, Simple to Stunning takes 60 to 90 seconds per flat lay.. Who does NOT want STUNNING IMAGES?
No one!! So let’s add that final wow.
In this flat lay I did use live Hydrangeas & Styling Pearls. You could forgo the live flowers & use only the styling pearls. Please know that fresh flowers do say luxury, but you do not need to break the bank to achieve this look. I was able to pick up the Hydrangeas at my grocery store for $4.
Adding Florals: (if florals are not in your budget, I got you covered.. skip to the next step)
Classic white hydrangeas are versatile and match everything. Their petite & varying sizes are perfect for styling. They also LIVE a pretty decent time out of water… meaning they are not going to wilt 2 minutes into your photo taking.
PRO TIP: White is always my go to, this way it matches everything. If hydrangeas are not available, white Spray roses (those are the little roses) work well, too. You can pluck off the petals to achieve this same look, however you would use less, since the petals are larger in size.
Also, Trader Joes has the BEST fresh florals at the best prices (if you are blessed enough to have one close by).
Preparation:
- Snip the florals right before you start styling. I like to snip off more than I need and have them in a little dish ready to go.
Placement:
- Ping pong varying sizes of the flowers off the ribbon. Thoughtfully filling in the negative spaces.
- Start from the bottom of the ribbon working your way to the top.
- The varying sizes of the flowers are what make the magic, so place different sizes next to one another to create depth and texture of the flatlay.
-
Start with less, take a test shot and then add more as needed.
Adding Styling Pearls
Styling pearls are a game-changer, an effortless way to add elegance and depth to your flatlays in seconds!
Let's layer .. if florals are not in the budget.. Pearls.. This is your final Flourish!
For those who added florals.. Let's also add pearls. What is more Luxurious than fresh florals and pearls?
Placement:
- Ping pong your pearls around the ribbon. You want to intentionally fill in the negative spaces.
- Paying attention to make use of the 3 different sizes.
- Start from the bottom of the ribbon working your way to the top.
- Start with less, take a test shot and then add more as needed.
6 . Final Adjustments and Review
Before shooting your bridal flat lay, take a moment to review and make any necessary adjustments. These 30 to 60 seconds might be the most important part of the process, once you shoot and move on, the moment is gone. The Flat Lay is Gone.
When you are culling and editing the photos, you will have wished you had those 60 seconds back to realign the ring in the ring box or fix the ribbon.
TRUST ME.. I have been here!
Alignment:
- Ensure all elements are aligned and aesthetically pleasing. Check the positioning of the ring box, the alignment of the shoes, and the overall balance of the flatlay.
- Check the negative space within the flat lay - look through your camera lens.. It will look different!
- Check that the Rings are Centered in the Ring Box
Test Shots:
- Capture a few test shots on your phone or camera to see how everything looks through the lens. This step helps identify any areas that might need tweaking.
- Make these tweaks and then take another test shot.
Refinement:
- Make minor adjustments if necessary. Do NOT look at your test shot and doubt yourself, this test shot is for tweaking.
- What you have created is amazing.. And trust me, the more you style, the faster & better you will get! I promise.
PRO TIP: Take more shots than you think you need. Take overall shots, take tight shots, take photos on an angle (not your traditional flat lay shots). Take the standard photos, once you know you got the details you need for your bride… Take 2 minutes and PLAY.
Play, take different angles that you would not normally take! MOVE a few elements in the shot, this is how you will grow as a Flat Lay Stylist & Photographer. Even if those 60 seconds are not good.. And you only get 1 good shot.. You did something different! Trust me it will help, you will be able to look at these photos and start to see the small things you ‘could have done’ to get the right shot! So the next time you play.. You will nail that creative shot!
Conclusion
Creating a bridal detail flatlay is an art that requires the right styling prop, an eye for detail, & knowledge. By watching this styling Video & reading this blog post you are on your way to creating your own stunning flat lays!
I am so excited to join you in your flat lay journey. Whether you are a novice or seasoned pro, I believe that details.. flat lays, those magic small moments, are what make a portfolio shine & brand stand out.
Thank you for styling with me today! I'm Jaime, and I’m always here to help. Please reach out with any questions you might have.
Drop a Comment Below on what you are Struggling with.. What you want to Master.. I am here to help!
Happy Styling!


Leave a comment