

Transforming Wedding Details into Timeless Imagery in 6 Minutes: the power of prop selection & Vintage.
In 6 minutes, we can craft an extraordinary bridal flat lay. I know time is limited, florals are often non-existent… but that does not mean you cannot have Showstopping, Portfolio Transforming images. Today, we embark on a journey focused on bridal Details & the power of the RIGHT flatlay prop.
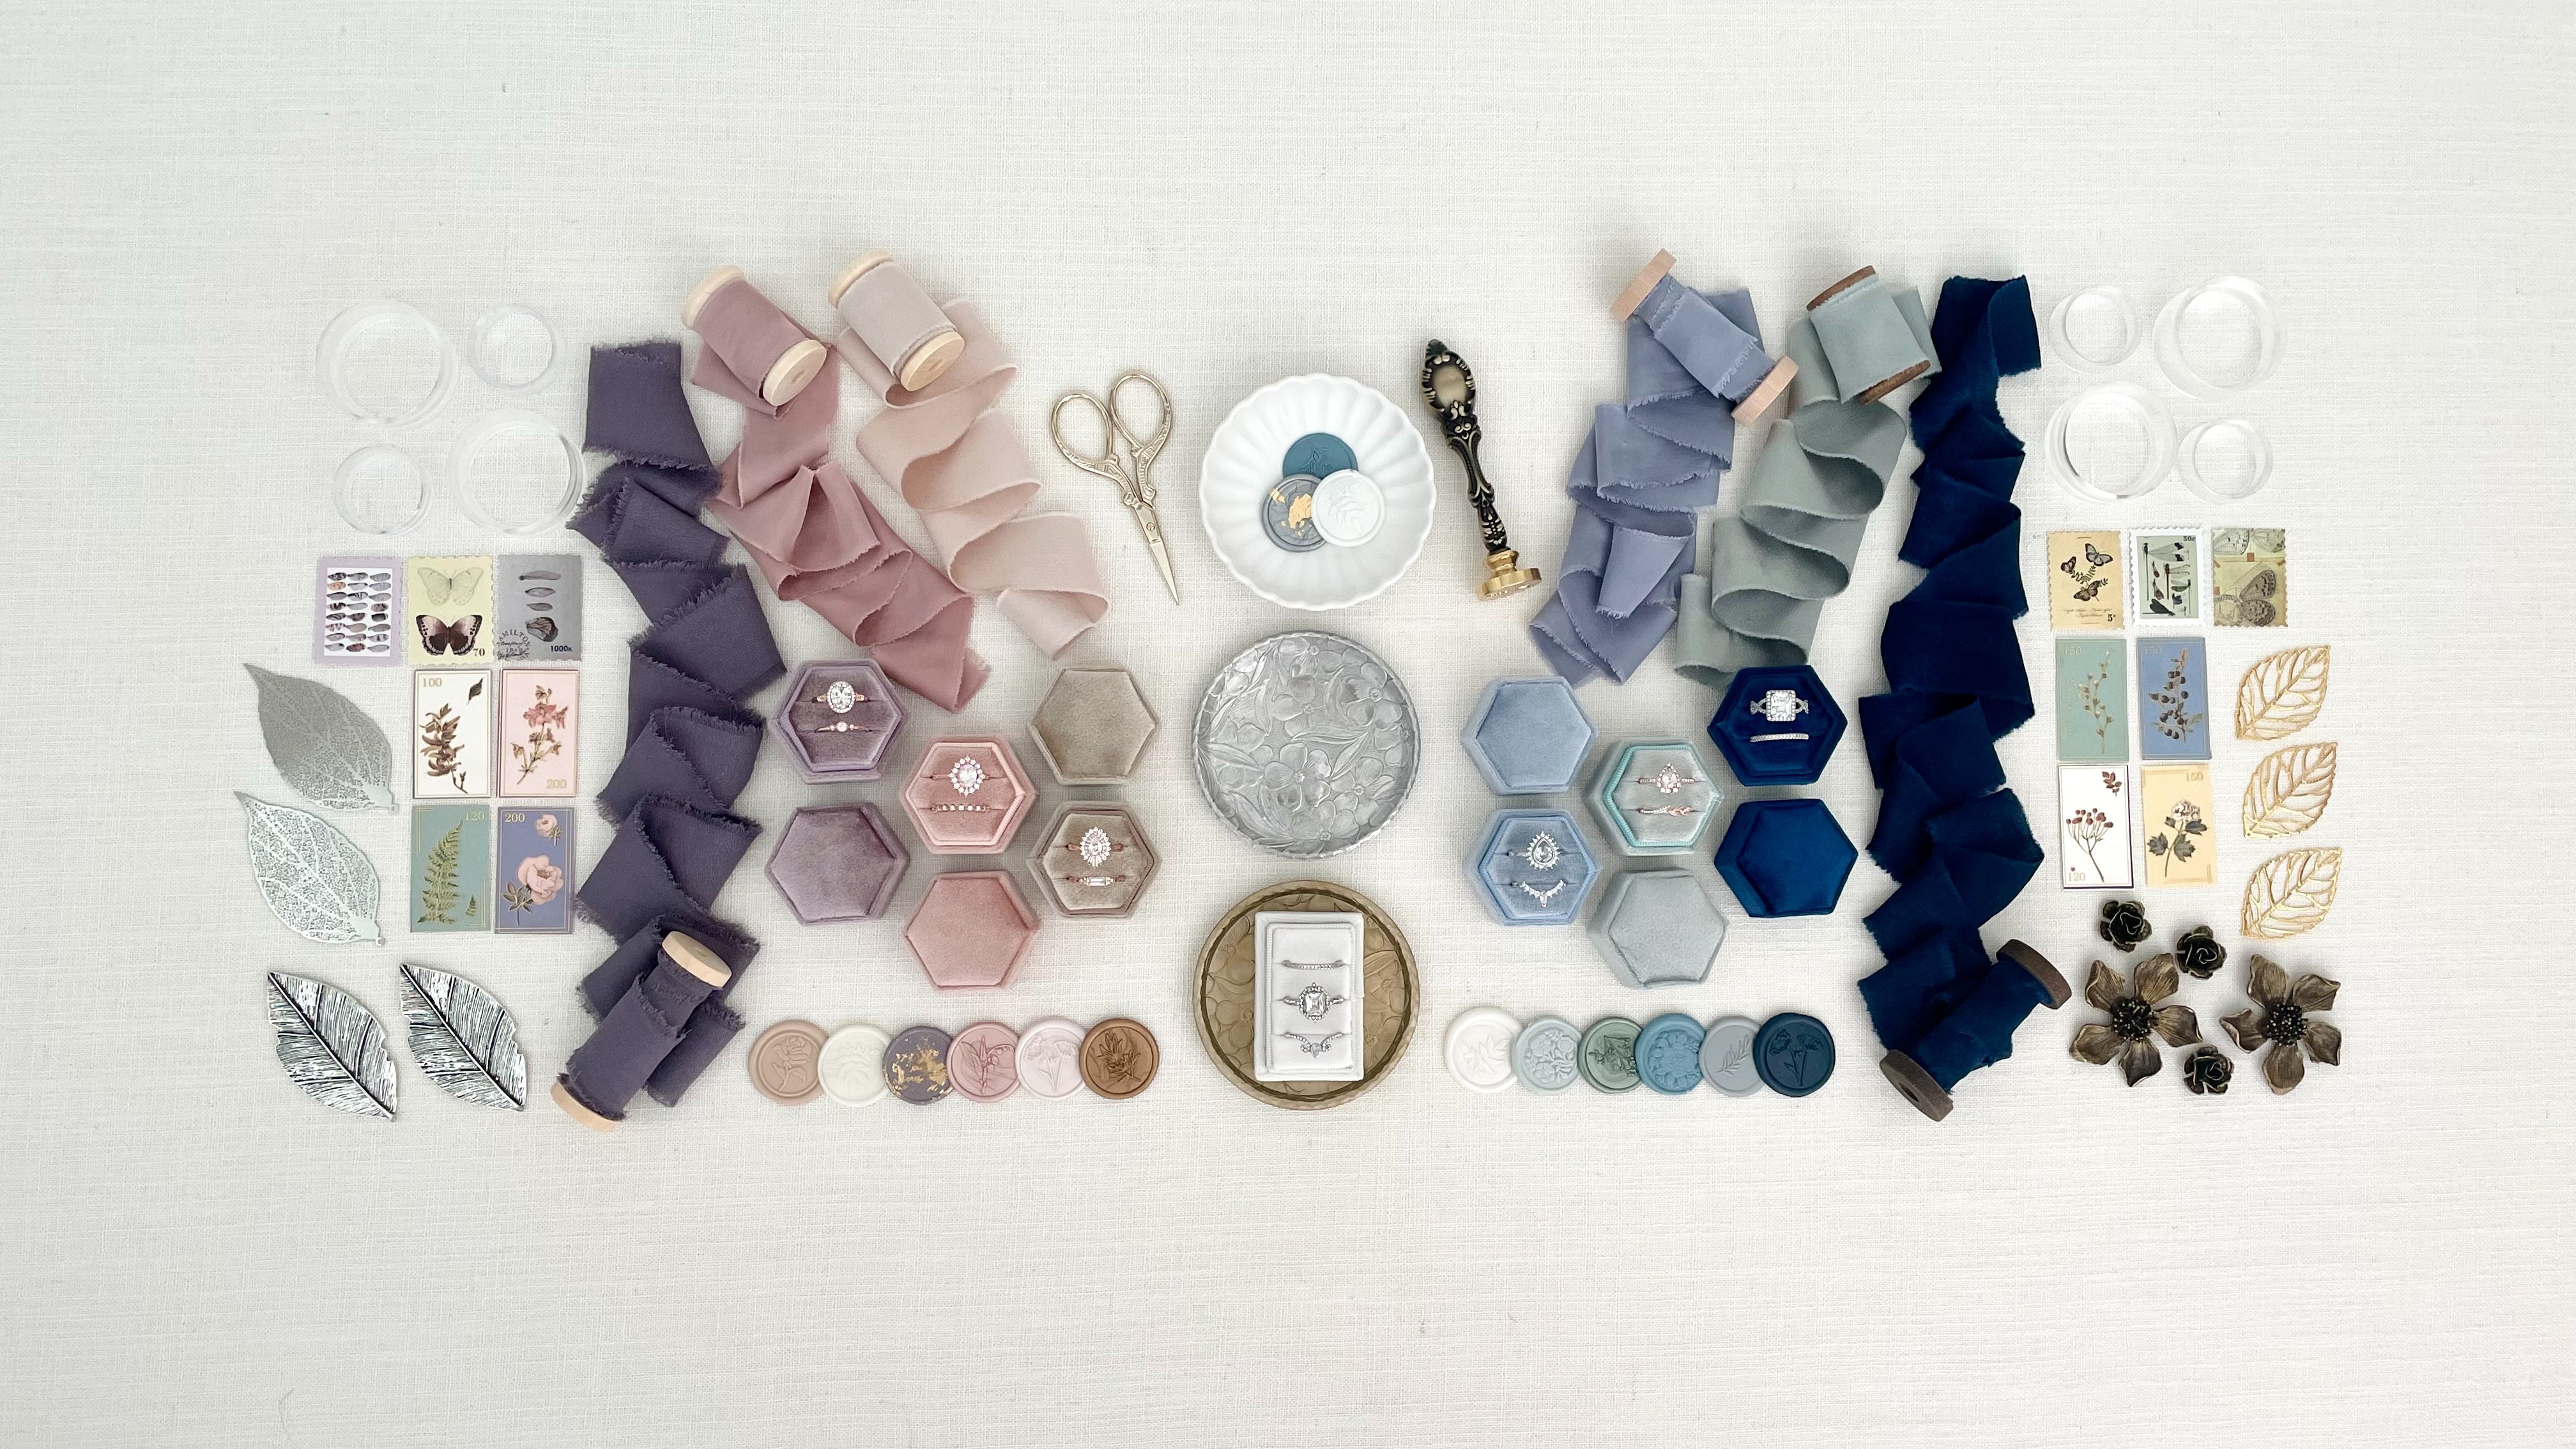
What is the right prop??? It fits the aesthetic of the wedding, it is timeless, unique & it is one YOU bring. Don't worry.. I have you covered! From Vintage, to silk ribbon & everything in between… Champagne & GRIT is ready to stock your photography flat lay styling kit.
⟡⟡ Flat Lay Styling Props Featured ⟡⟡
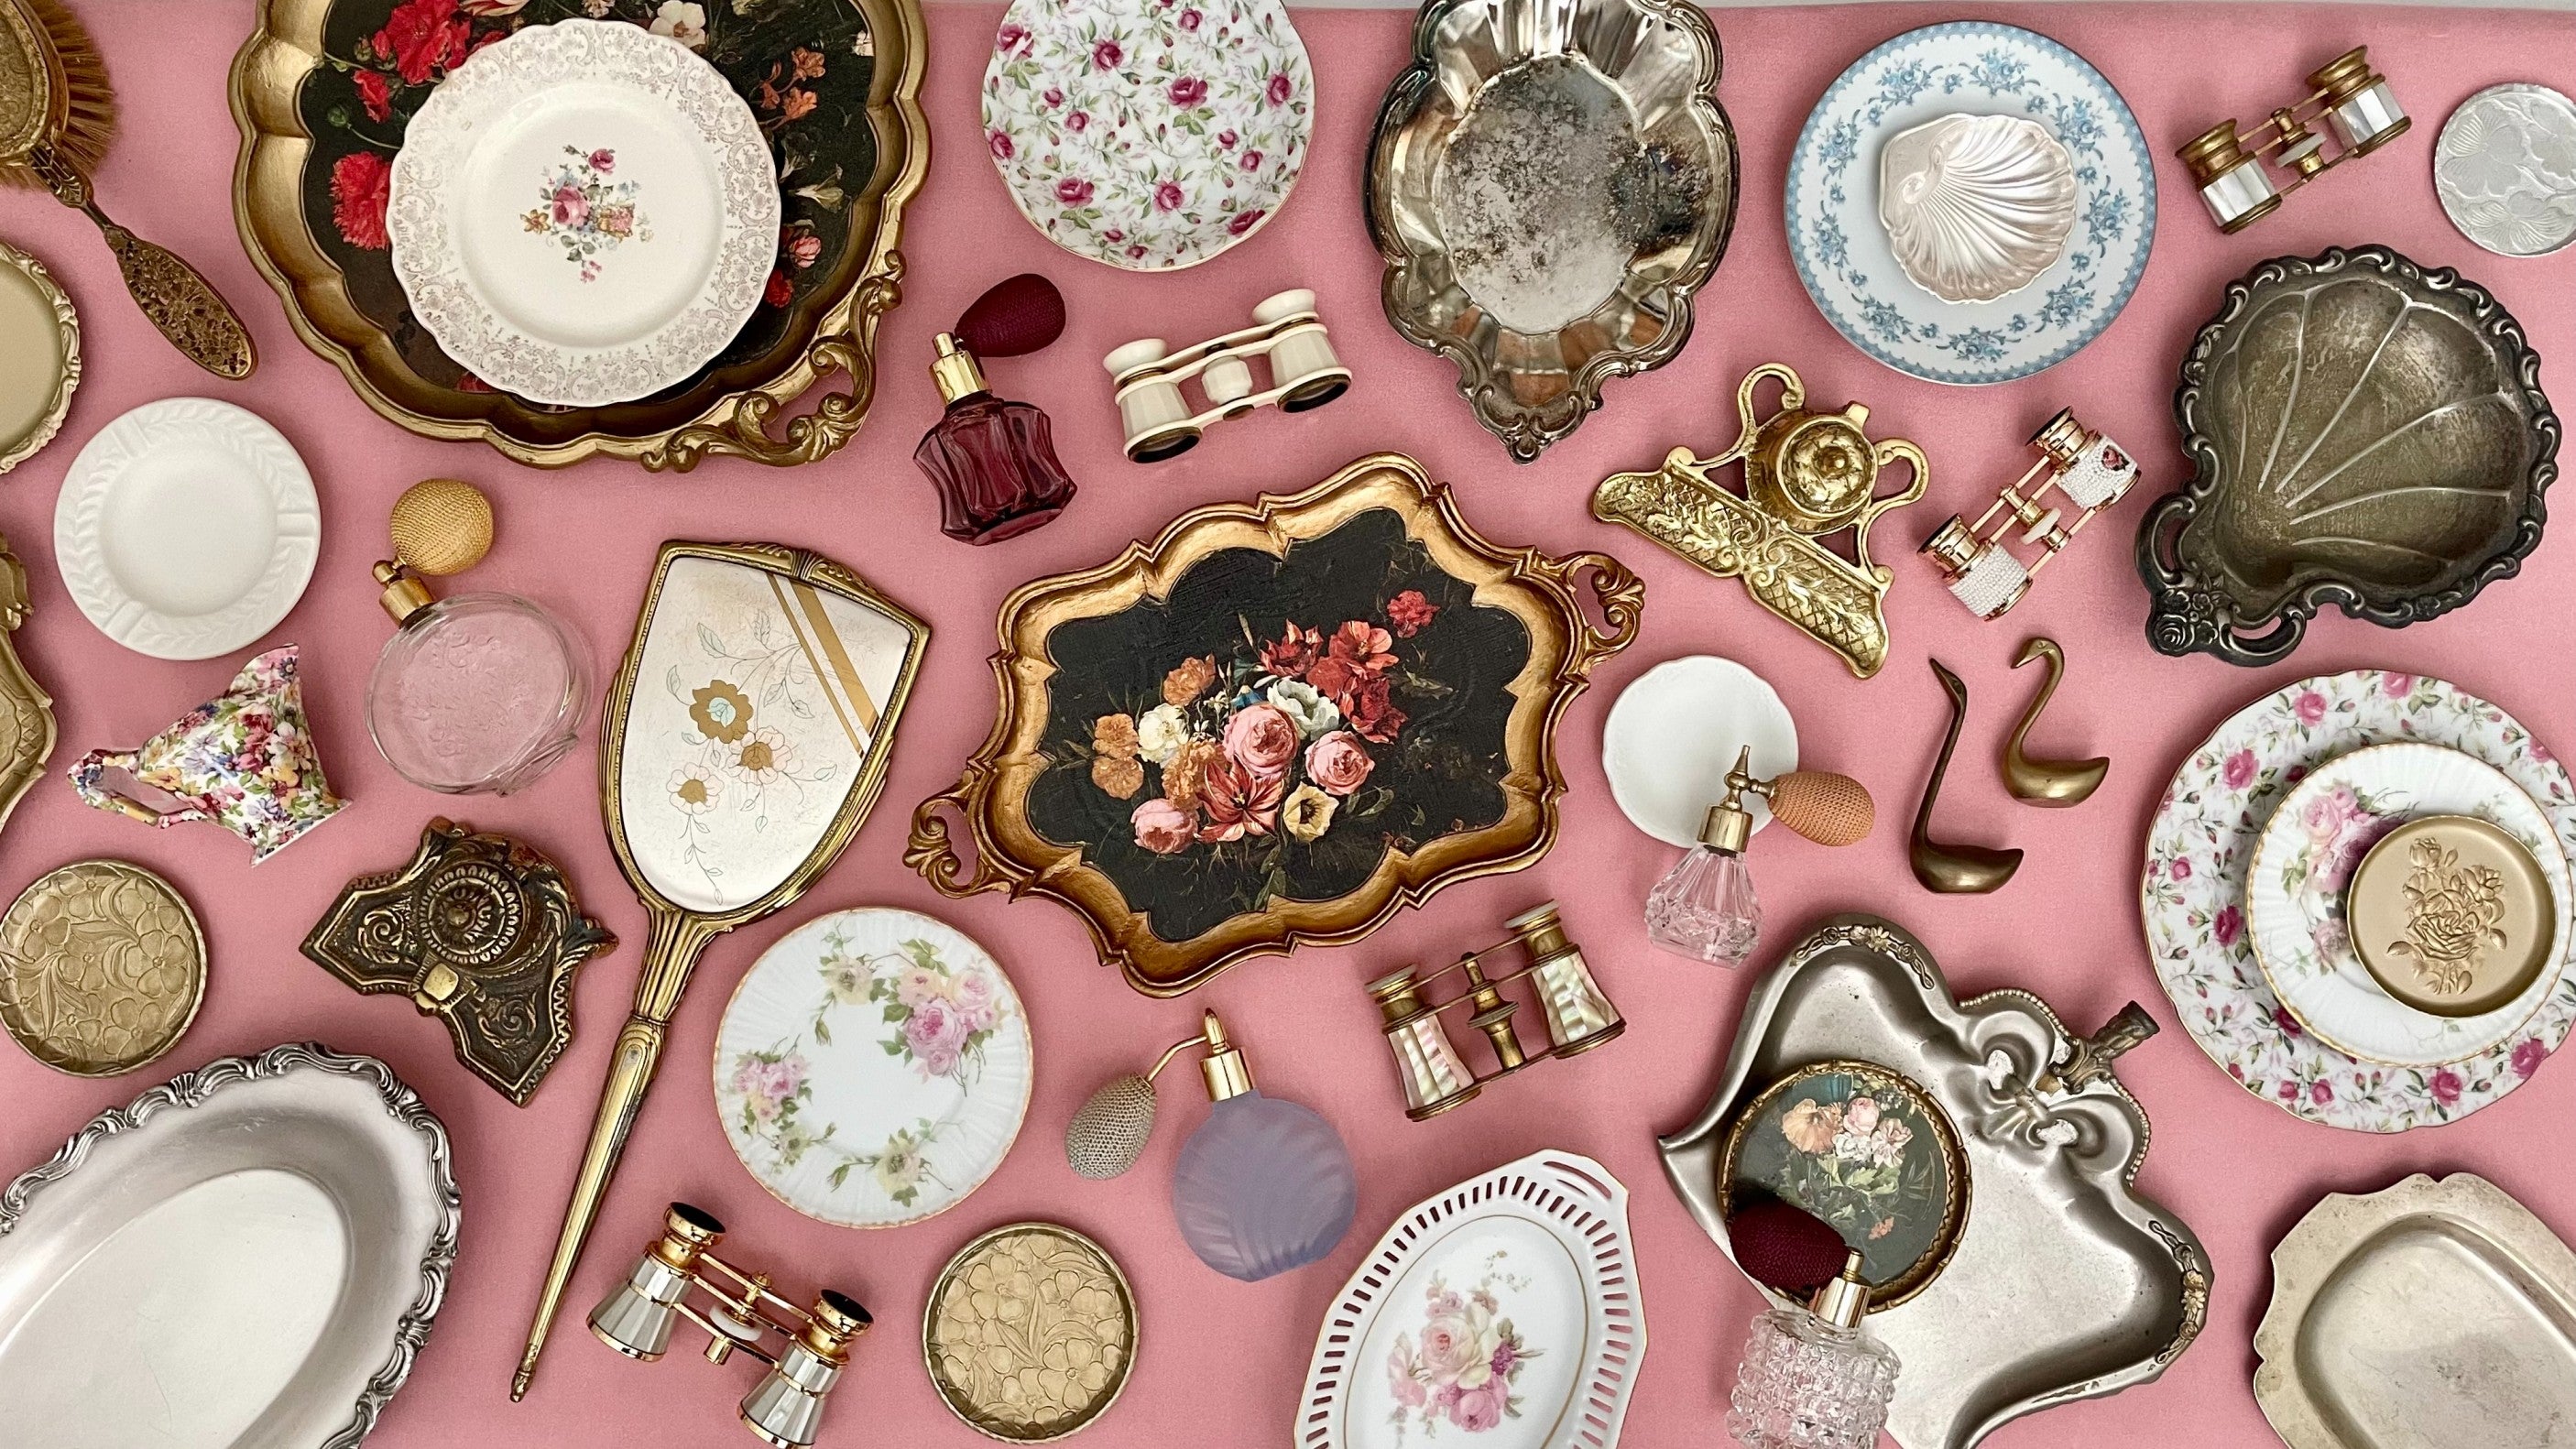
⟡ Opera Glasses ~ https://champagneandgrit.com/collections/vintage/Opera-glasses *vintage inventory is ever changing, stay in the know by signing up for our exclusive emails
- ⟡ Styling Matt ~ DayDreamer~ hand Painted with Love ~ https://champagneandgrit.com/collections/styling-mats/products/day-dreamer-hand-painted-styling-surface-for-wedding-photographers
If you ar e new here… Welcome, I'm Jaime from Champagne & GRIT, and I am thrilled to share my expertise on transforming wedding Flat Lay details into timeless imagery. In this quick but comprehensive video, we'll explore the nuances of Wedding Flat Lay Styling with mixing must-have props & vintage elements.. to elevate your wedding photography portfolio & brand. Join me as we dive into a step by step guide, unraveling the secrets behind crafting dynamic images & beautiful flat lays that you can replicate on your next wedding (in minutes.. not hours!!)
Setting the Stage with Must-Have Props:
As a seasoned wedding professional, I understand the challenges photographers face when brides have minimal details to showcase. You arrive at the wedding and they give you a ring, shoes & a pair of earrings. You are expected to make photography magic.
Start with your Must Haves… The props you reach for over and over that create lasting & impactful flat lays. One of my go to Must Haves is the Silver Styling Dish (don't worry it comes in Gold too). We will start with this essential building block ~ the Must Have Dish in the center of the Frame & build out from here. This versatile dish serves as the foundation, setting the stage for the intricate details to follow. * this dish will showcase the Star of the Show
Strategic Placement of Bridal Shoes:
Next in our styling journey are the bride's shoes. The key here is to pay attention to the unique features of the shoes. Brand, heel & details matter. In this flat lay the Brand is NOT important so it is Cropped out of the shot. However, I would Style this Flat lay in a different layout if the Brand was a feature.. aka Chanel would be Styled differently. In this Wedding Flat Lay Detail, we have a dust blue silk Pump. They have been strategically placed at the top of the frame showcasing the dreamy dusty blue color. The tip of pump is peaking into the frame & the pumps are offset to create a dynamic diagonal line. Staggering the shoes adds visual interest and anchors the frame, forming the basis of a captivating flat lay composition.
Embracing the Art of Ribbon:
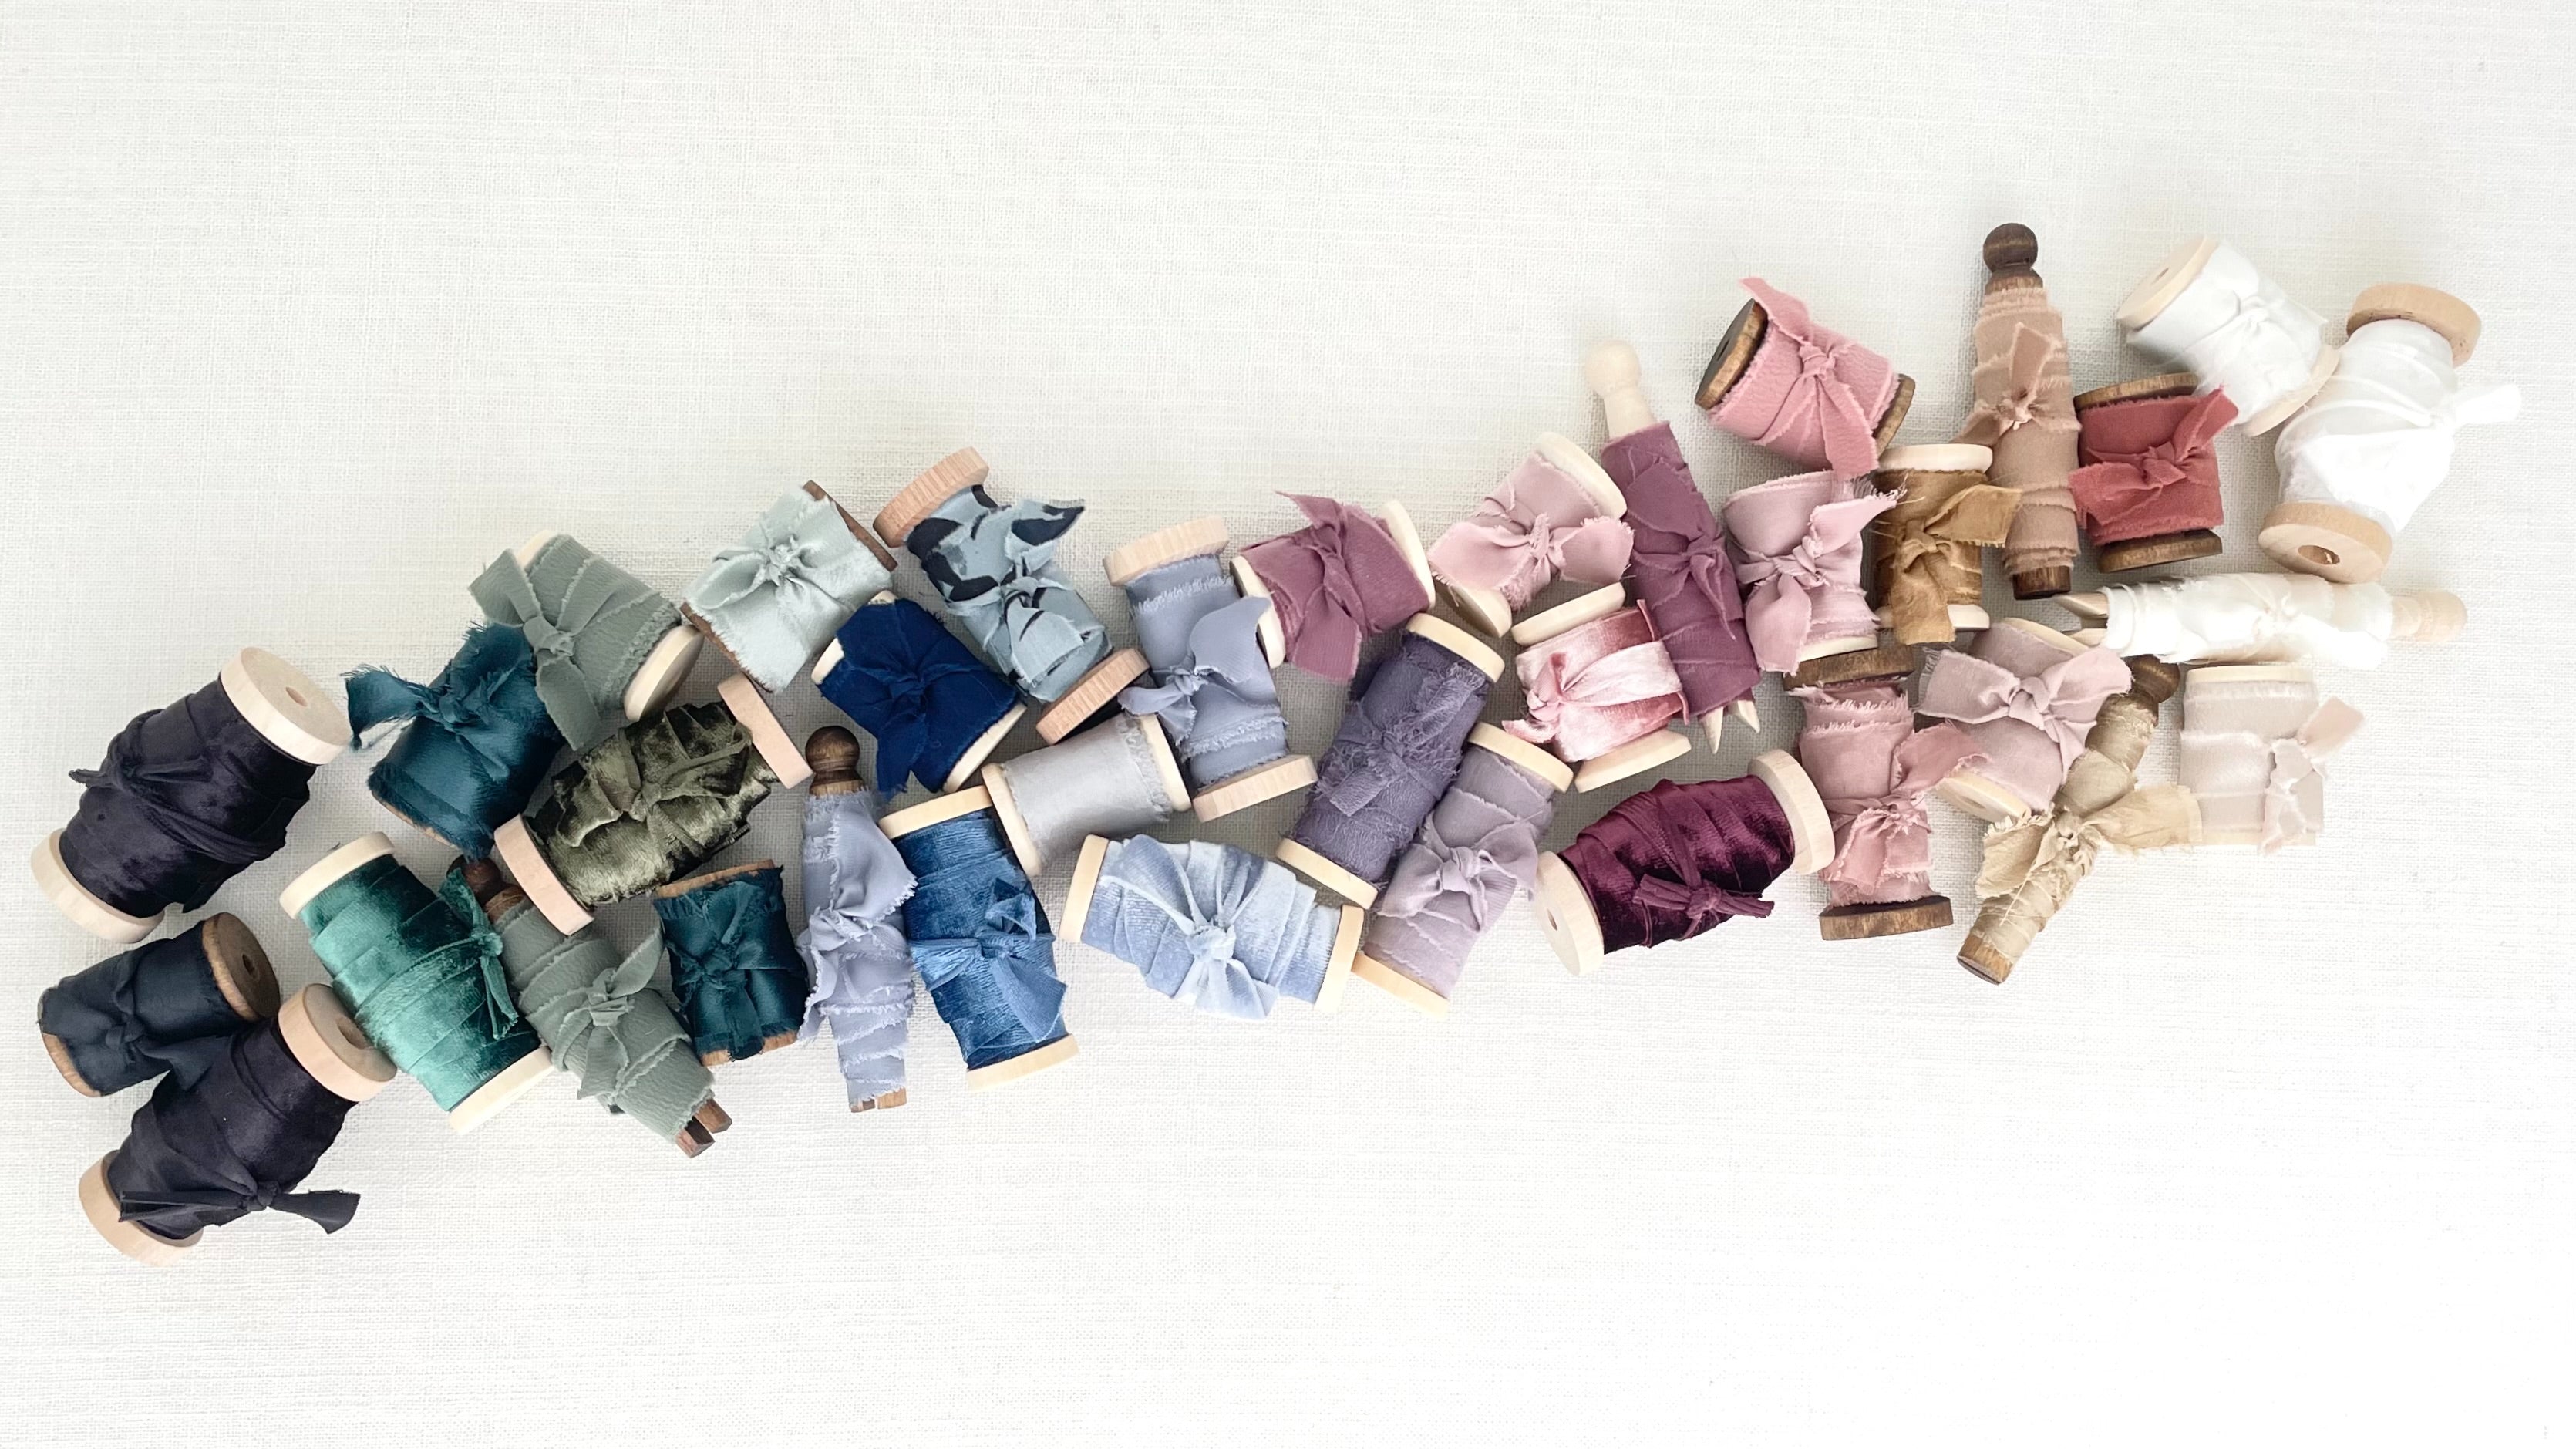
Ribbon, a classic styling element, adds a romantic and soft touch to our composition. It is also one of my Favorite Fast Styling Tricks. If you are struggling to style your ribbon, it’s probable NOT You.. it’s probably the ribbon! Not All ribbons are created equal, that dreamy ombré color pallet of 5 ribbons you snagged on Amazon for $9.99 is 10000% to blame. That is why I personally make ALL my ribbons by hand & source the finest fabrics from around the globe.
In this Wedding Detail, ivory silk ribbon was the perfect choice. When in doubt, go with a classic neutral like; ivory, champagne or sand. These neutrals allow your Brides details shine. When styling, opt for styling on the diagonal. It creates a dynamic, pleasing flat lay in seconds. You want the flat lay to have multiple intersections to create multiple rest points for the eye. ( It sounds fancy and complicated.. But it's not).
PRO TIP: consider your dominant hand when styling – if you're right-handed, styling on a diagonal from the bottom left to the top right might come more naturally. For my lefties, style bottom right to top left corner!
Layering for Dimension:
What makes a dreamy flat lay? Dimension!! To add depth and dimension to our flat lay, you need to layer. Paper plopping is NOT cute… & trust me, investing in risers is 1000% worth it. You will use your risers over & over , in every flat lay. It is the ONLY tool in my flat lay kit that I use in EVERY flat lay. (really.. Every flat lay!)
While I love acrylic blocks.. I also love floral risers. The combination of the two can create magic. One layer (aka one block or floral riser) can transform your flat lays in seconds.. So PLEASE do NOT skip this step! It is 3 seconds.. And it is EVERYTHING. LAYER, layer, LAYER. When in doubt, layer. In this instance, a gorgeous matte dusty blue dish is layered with a dreamy navy triple slot, creating a harmonious theme and enhancing the overall richness of the composition.
Incorporating Vintage Elegance:
Now, let's delve into the magic of vintage elements. Vintage is an amazing way to elevate your photography portfolio. Oftentimes your Client or Publications are seeing the same things over & over. By laying in a Vintage Ring dish or pair of opera glasses, your photography will instantly stand out. These heirloom one of a kind treasures allow Your Brand to stand out among the other photographers. Incorporating Vintage into your brand & flat lay details is a simple & effective way to instantly become Luxury. Vintage has my heart.. Mini dishes & opera glasses are my personal favorites.
Styling Something old with something new is a powerful combination. (it is also good for the wallet, because let's be honest being a small business owner, every dollar counts). Our Must Have Silver Dish & Opera glasses are the perfect pair. Also showcased is a 3 slot ring box and vintage dish. These flat lay props have been placed strategically along the same diagonal line as our ribbon. This Prop placement creates a dynamic & stunning image. By incorporating vintage you will instantly elevate your flat lay composition, making it stand out from the crowd.
PRO TIP: Remember, choosing vintage elements that align with the couple's aesthetic is paramount. Not all couples will warrant a touch of vintage.
GROWTH TIP: If you are in a space of growth in your business, create your own flat lays to post to capture the eye of the next level of dream client! If you are not booking the dream wedding yet (I’m saying yet, because I believe in you) Shop & Style for the Weddings you are dreaming of.
You can MAKE a $2,000 wedding look like a $5,000 wedding… and $5,000 look like $8,000. Buy highlighting details, by styling details correctly, by showing up with your flat LAY? kit stocked & with the knowledge.. YOU can achieve your goals!
Balancing with Intersecting Diagonal Lines:
Creating intersecting diagonal lines with your Styling elements & bridal details contributes to a balanced and visually appealing composition. By combining textures, shapes & colors you are creating impact. Combine with linear styling.. your flat lay will be unstoppable. This technique ensures a harmonious arrangement, guiding the viewer's eye seamlessly through the flat lay. I know this sounds hard & overwhelming. It is actually very hard to articulate writing out.. However once you watch a few of my videos, and see it in action, it becomes simple! I promise
Embracing Negative Space:
I believe in MORE.. however, the less moments are equally impactful & important when styling. Mindful use of negative space within the composition allows the flat lay to breathe. This creates areas for the eyes to rest, enhancing balance and the overall aesthetic. As we style each flat lay prop, negative space becomes a powerful tool in creating a polished and sophisticated presentation. It is very easy for a flat lay to become cluttered, even shifting your props slightly can create these moments of rest that the eye craves.
PRO TIP: take a look at where your diagonal ribbon line is running through your flat lay. Now imagine an invisible line running to the opposite corner, on a diagonal, intersecting your ribbon. (So, it would create an X). That invisible opposite diagonal line running corner to corner. That line is usually your REST LINE. That line should allow for your Rest / Negative space with no or minimal visual elements in it. The Rest space will be towards the edges of your frame/ corners of your shot.
The Final Flourish:
As we approach the final stages of our styling journey, I emphasize the philosophy of "more is more." Many times I see a beautiful flatlay fall short of being truly exceptional, because the photographer stopped 1 step short. The final flourish.. the more moment! Often this is achieved with fresh florals. (I can hear you… my wedding did NOT save me any florals). My answer No Florals… No Problem. My secret sauce, that grand finale moment.. styling pearls. These petite pearls create that finishing touch, that wow moment in about 90 seconds. They come in classic white & gold.
So I ask you ..why be ‘enough’? when you can be spectacular!
If you are reading this, you are here to step up your Wedding Flat Lays. The way to enhance your flat lays is the little details. The Final Flourishes, the finishing touches matter. Chances are your brides are not going to have them, so come prepared, by stocking your flat lay styling kit. We have Layered our flat lay with styling pearls adding a touch of romance and whimsy. While the flat lay is strong on its own, the pearls elevate it to the next level. From ‘enough’ to Spectacular in about seconds.. You now have flat lay detail you would be proud to post in your insta feed or show off to your dream client.
PRO TIP: Come prepared with your final flourish. Invest now in these petite details, you will be shocked at how often you reach for them when you have them on hand.
Final Check:
Do NOT skip this!! Take 60 more seconds and check your flat lay! You will not be able to go back and fix a ring box that is not centered in frame, that has ruined ALL your photos.. Or you will spend hours editing your images in photoshop to correct them. Spend the 60 seconds now.. Your future photographer self will thank you.
Check with your EYES ~ Take 20 seconds and scan it over..
Are the rings straight in the ring box?
Are the dishes centered in one another?
Do I feel good about the placement of everything?
Is there negative space in the flat lay?
If you have checked with your EYES. Now take 40 seconds and check with your LENS! Snap a shot and LOOK AT IT! Sometimes you need to slightly move an element. It may look perfect standing over it, however in your camera frame you need to move it. I cannot tell you how many photographers just missed getting the perfect flatlays because they skipped this step! Don't skip it. It is better to get 2 or 3 less photos on the day of the wedding than 0 that you love because you “didn’t have time to check”.
Conclusion:
Mastering the art of Wedding flat lay Detail styling requires practice, attention to detail and the right styling props. By implementing the techniques discussed in this expert guide, you can create a body of work filled with show-stopping flat lay details. Flat lays are the secret sauce .. the game changer, they will elevate your portfolio & brand. They are also FUN, it is another way to express your creative gifts & the couple’s love story.. so try not to stress or over think the process.
I know it can seem overwhelming, but I promise with practice it “will become second nature. I encourage you to experiment, to style along with me. The more you practice the easier it becomes & your own Signature Flat Lay Styling will begin to evolve. I love when you DM me photos of your flat lays.. It fills my heart with such joy.
Stay tuned for more tips and tricks. I would be so grateful if you dropped a comment below to let me know what you'd like to style next. Thank you for joining me on this styling journey ~ I can't wait to see what you create!


Leave a comment